Interior Painting Tips for Newbies

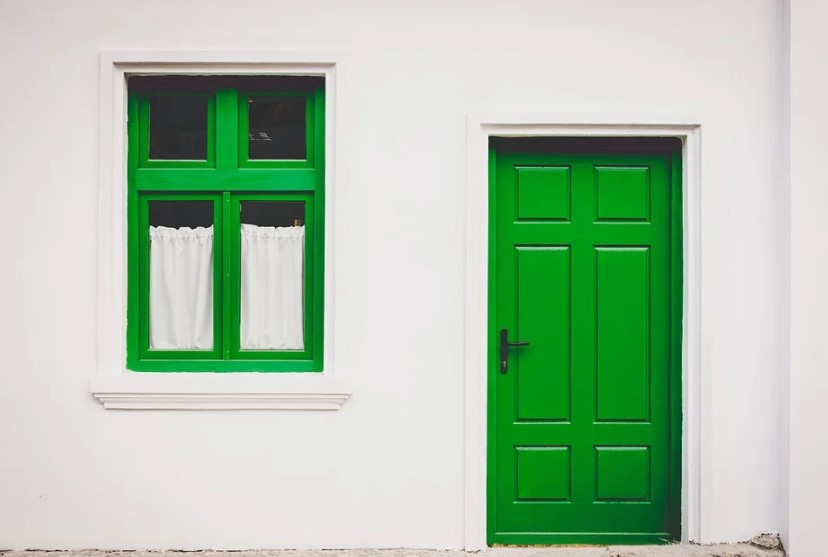
Are you planning to paint your walls? Well, you have come to the right place because we are just about to reveal to you the most essential tips for interior painting. Many homeowners have basic painting preparations but don’t really know some wise techniques to make everything smooth and easy.

Don’t let your paint dry out

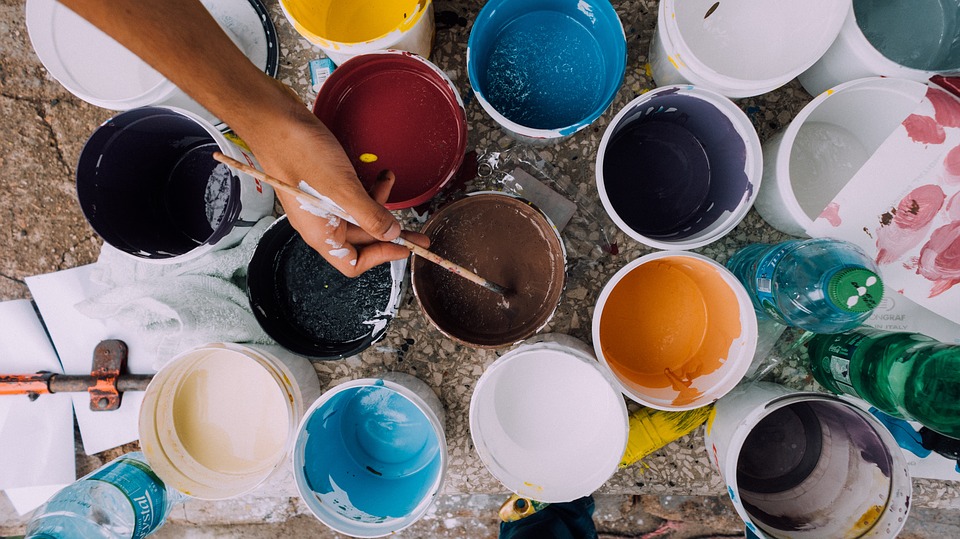
If you plan on painting just one wall, it is best that you buy 1 litre of paint of a half gallon depending on the size of your wall. This is because your paint can actually dry out if you only use a small amount of it and leave the rest in the can. Nevertheless, if you have already bought a large can of paint you and still have enough left even after painting your wall, you need to seal the leftover tightly. Drop golf balls into the paint or use plastic wrap under the lid upon covering.

Apply the correct primer

If you are painting a new drywall, it is wise to use a water-based primer to hide the imperfections. This will also improve the base and make it flatter before applying color. If you paint panel boards, you can opt for an oil-based primer. This will give it a smooth base for your finishing.

Use a roller instead of brush

Most homeowners prefer using brush because they are cheaper but using a roller to paint your wall will give it a smoother finish. Also using a roller distributes the paint evenly and avoids lumps and traces usually left buy brush painting. Nevertheless, you can use a brush to paint corners which are not normally covered by a roller.

Don’t wash your brush or rollers

Are you done with your interior painting project?  Well, don’t wash your brush or rollers yet. There is no reason to wash them when you are not done yet. Simply wrap them in plastic bags or tin foil to keep the paint wet and then you can reuse them the next day. You can also soak them with thinner to dilute paint that has dried.

Build a paint pen

If you plan on doing interior painting yourself or making business out of it, you better build a paint pen. You can use it to stock up new and old paint for your projects. Just remember to shake your paints well before you use them.

DIY – Install a New Front Door

If you have an older front door that needs to be replaced, you can replace it without removing the jamb (frame) if the jamb is still ‘square’ and is not damaged.  You must make sure you are getting the same size door, of course, or it won’t fit. 

Tools

You don’t need special tools.  It is easy to knock out the hinge pieces with a hammer and a chisel or screwdriver.

Steps

Remove the old door from the old frame using a cordless screwdriver or drill.  Be sure to leave the hinges on the door. Place the door with the exterior side down on a couple of sawhorses and remove the doorknob.

Place the new door on top of the old door with the exterior side down and make sure the doors are flush with each other around the perimeter of the door. 

Use a pencil to outline the stencil and trace the three hinges from the side of the old door to the new door.  Now you can unscrew and remove the old hinges from the door. You use them again on the new door.

Remove both doors from the sawhorses. Stand the new door on it’s side with the hinge side facing up. Clamp it to one of the sawhorses and place the hinges on the door as if they were already installed on the door using the pencil lines to align them. Complete the tracing around the hinge plates.

Cut around your pencil stencil with a utility knife or box cutter. Hold the chisel with the bevel side up and rock the chisel back and forth across the grain inside the hinge stenciling to remove all of the wood to about 18 inches deep. Tap on the back of the chisel if you need to, to get it to cut.

Insert the hinge plate into the hinge cut-outs. If they don’t fit flat, or won’t fit into the tracings, continue cutting and shaving the cutouts until the hinge plates fit snug and flush into the hinge cutouts, called mortises.

Screw the hinges to the door using the old screws and the cordless screw gun. Hold the new door in place on the frame. Tap the hinge plates back into the jambs. Use the screw gun to screw the hinges onto the jambs. 

Put the doorknob on.

Kick back with a cold one and celebrate you handyman skills!

 …

Installing Crown Molding is Easy – With These Tips

If you are looking for a quick crown molding work, then you can do it yourself with some easy to find tools which are common in households. Crown molding is an easy and affordable luxury that we all can afford. Crown molding is the design that applied on the sidelines of the roof which makes it look rich and fancy.

Here are some tips for you if you are planning to give your room a new look with some crown moldings.

  • Cut the moldings only at 90 and 45-degree angles. After you take all the measurements, cut the frames in a straight line of 90 degrees because the cut will decide the quality of the fitting of the crown molding. Cut pieces of 45 degrees so that they can fit in the corners properly without leaving empty spaces between the frames.
  • Type of crown molding is one of the most critical decision to make before you get started. There are three types of frames from which you can decide the most suitable, wooden, wood plus resin and plaster of Paris. Wooden is costliest of them all; hence you can choose from the other two.
  • Cut the corners of the moldings. You can’t just cut in any way that suits your comfort because it should need to cut at a specific angle. Proper measurements are necessary while cutting the moldings. Coping saw is best while doing the same.
  • Don’t start the cutting work before measuring and marking the wall. The measurements of the wall play the most critical role while installing the deck because even a difference of an inch will destroy your hard work. Take good care of the measurements of the wall and mark all the measurements well.
  • Don’t be too quick while fitting the cuttings because this work needs proper care and time once you are satisfied with the fitting of the moldings you can color if you want to and even if you leave them white, they will be as beautiful as snow on fresh grass.

Must Know Tips For Bathroom Remodeling

So, are you planning to renovate or redesign your bathroom? Bathroom remodeling is the trending task in present days. Many homeowners pay particular attention to bathroom structures. Everyone loves renovating bathrooms more than kitchens. There is money concern also; the space of bathroom is smaller as compared to the kitchen, so typically one will have to spend less for a bathroom renovation project.

Moreover, we all want a bathroom, a reflection of our style or status and deliver the comfort we need at the same time.

Following are some basic bathroom remodeling tips to aid you in best renovation:

Recess outer holdings 

To get the classic look within small space, consider built-ins for all external holdings like recessed soap dish holders, medicine cabinets if any, and even sanitary roll holders, etc. It will upturn the space for vast remodeling.

Sizing with Color and Lighting 

We all want to give a more significant look of a small bathroom; this is possible with the right choice of color and lighting.  Make sure your color palette stays in the white-to-cream color, this color in spectrum aids to give a more significant look.  Likewise in lighting, usually we use ceiling fixtures. For the more significant look and vintage look consider lighting around the bathroom mirror in sconces.

Dim Lighting & Extra Pieces for Mood 

Dimmer switch a simple device will add mood to your bathroom. It’s perfect for late night relaxing baths. It should at the top of your remodeling tips list. Moreover, for more relaxing mode add extra pieces to give an appealing look to your bathroom like a cute cupboard with vibrant color, a beautiful chair in a corner, the freestanding section as a design element, only if space permits.

Bath Tub & Commode Position

Make sure a toilet/commode or bathtub should not be positioned as facing the door. This makes the bathroom space messy; set the position at sides and far from the door, also get the rounded rod of the shower, to give a quirky look of the bathroom.

Wall Protection and Beautification

The decorative beading has two great functions or benefits. First, it provides a distinctive antique look, and it is so easy to add during remodeling. Secondly, it is helpful in protecting the lower section of the walls from splashes of water that occur from tub and shower naturally.

Fixtures makeover with Paint

During bathroom remodeling make sure to change the fixtures according to the paint color selection. If you want the soothing appealing look of the bathroom, then take time to think over the fixtures selection. It should be either matching to present color or in contrast of same.

Plan for shower storage

In case you have a separate shower section in place of a bathtub then plan storage in the shower. This will not only build up space around but will also give a modish look. Placing all body foams and gels in the area under shower will also make bath easier without much mess.

So, through careful planning and choosing the right design, paint, lighting, and structure, you can have it all.  The tips as mentioned above could turn your bathroom remodeling dream into reality.

How to Install Storage Shelves in your Garage

Tools

  • Screwdriver
  • Stud finder
  • Electric screwdriver
  • Hammer

Materials

  • Brackets
  • Floating rack

Step 1: consider which equipment to use

To install a standard shelf, you’ll need suitable wall anchors. When the wall anchors are being installed, a hole should be drilled into the drywall and then the anchors can be inserted to securely hold the screws. For cinderblock walls, lead anchors will be needed to grip the screws.

Step 2: Mark the Locations for the Standards

Place the shelf on the wall. First and foremost, measure how far you’ll like your shelf to be from the floor or from the ceiling and then mark the desired spot for the bottom or top of each standard shelf. After doing this, you’ll have to make a decision on how far apart the standards have to be in order to hold the shelf. Then, measure up the length of the shelf, giving at least 8 in. of overhang on the exterior of each standard, as to not allow the shelf be placed on the very edge of the brackets.

Step 3: Mark the Positions of the Anchor and Insert

Place the first standard up on the wall, and confirm it is both plumbed vertically and leveled horizontally with the aid of a level. The standard will have open holes meant for screws; place a pencil inside each hole to mark the position for the wall anchor. Find the studs in the walls using a stud sensor to locate them.

Take this standard off the wall. Then, insert the anchors at the marked spot using a drill and screwdriver, or you can use a power screwdriver (if you’ll use self-tapping drywall anchors).

Step 4: Attach the Standards

Line the standard properly over the anchors and be sure once again that it is plumb and level. Then attach the screws through the slots on the standard and then into the anchors. Properly screw the standard.

Re-confirm the spacing between each standard and install the second standard using the above process.

Step 5: Insert the Shelf Brackets

Correctly insert the brackets into the appropriate standard slot and gently tap them in with your hammer. Now, you can place your shelf on the brackets and start utilizing your new storage shelf!

Check out this great video for more tips to help you be successful.

 …

The Benefits of Hiring a Contractor on a Home Painting Job

If you intend to freshen up some walls or paint the interior or the exterior of your home entirely, it is best to go with the services of professional home painters that can do the job to your requirement.

They will provide some extra help especially with more complex aspects of the remodel such as, exterior painting, and the ability to effectively complete the remodeling projects promptly while keeping their work to a high standard. This will allow the homeowner to complete the remodel in a more timely fashion.

Proper planning

Nowadays, home painting has grown and become a necessary part of every home decoration process, going wrong in this area will mean several other things are bound to be affected. But seeking the guidance of specialists, they will make sure that this will not happen.

Specialists have a well-organized way of carrying out their work in a planned manner. Not only will they help you select the right color but also help you pick the correct paint finish to be used, plus they will guide you in every step. An extra benefit of seeking advice from experts is that they know what will work and what won’t for your home; they will begin by inspecting the area that requires to be painted and then advise you on the best choice that suits that area.

Quality products

A good home painting service providers will guide you in choosing the best painting products. It is their job to help you pick quality emulsion paints so that the paint applications go smooth and the results are satisfying and long-lasting.

There are various surfaces, for example, cement walls, metal, and wooden surfaces that could be painted, and there are different paints specifically manufactured to paint these surfaces. You may not have the experience of knowing the best option to choose from, but paint experts will.

Faster results

A professional will undoubtedly understand how to manage time and labor in a limited time or schedule with the proper combination of expertise and knowledge in preparing surfaces, painting, and the finishing techniques. Expert home painting services come with an assurance of getting the wall painting job finished within a specific time.

This does not mean they will finish the project in a hurry. But, instead, they will estimate the total number of hours and days that the pre-painting and the complete drying time will take up. After you are aware of the period needed, you can organize your schedule accordingly and prepare for the wall painting job.

Quality tools

Top-notch tools and brushes also play a vital role in improving the finish. Types of equipment, brushes, and rollers have to be of the highest quality to guarantee that the painting job remains excellent for a prolonged time. The contractor will then inspect their work making sure that there are no strands of brush hair visible on surfaces and walls.

Summary

So when you are looking for a painting contractor to do your home painting, look for one who is trustworthy and respectful. When you hand over your home decoration and painting project in the hands of experts be assured of quality and creativity involved in it.

Not every person would know what would suit his home and professional help can prove to be helpful in such cases. A good home painting contractor can give your home the desired paint job without turning your world upside down. Always be thorough when selecting a painting team.

Thanks to our contractors friends at BGB Painting for these tips on finding a contractor.